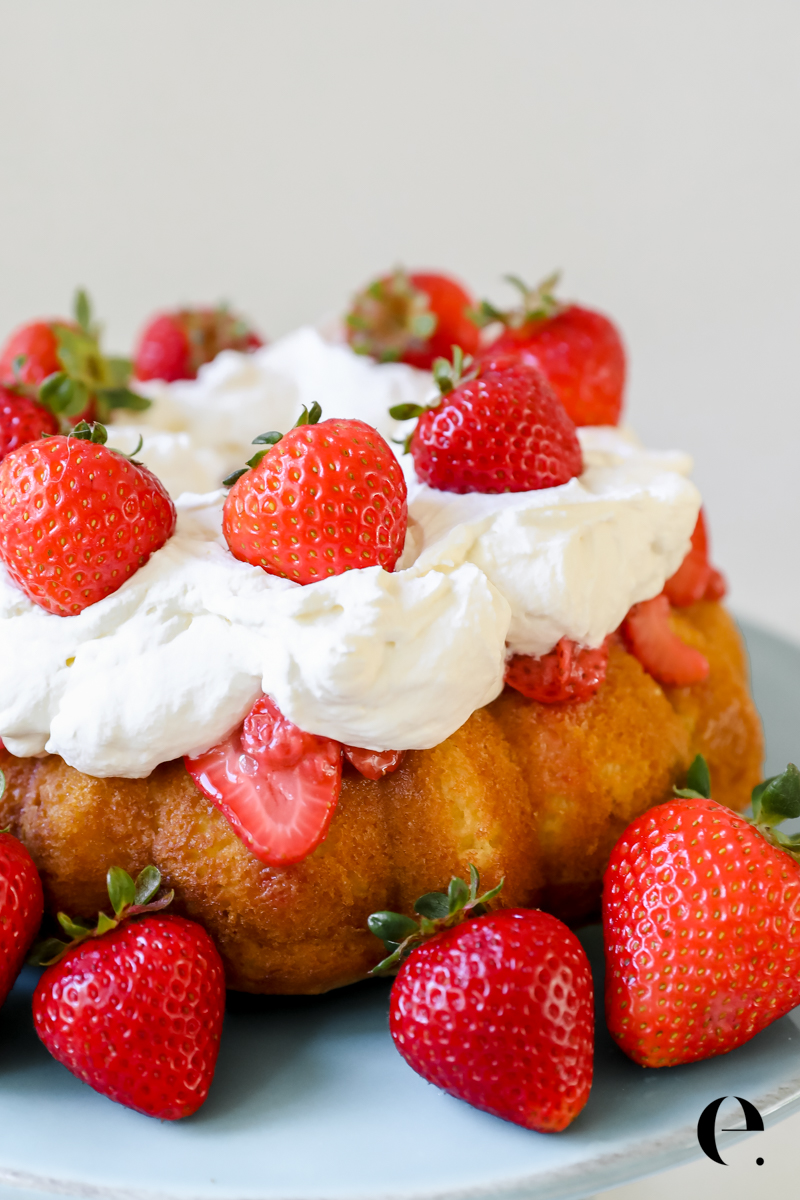
First, this dessert is SO pretty—it’s just fun to look at.
And second, this perfect no-bake lemon tart recipe is easy and filled with healthful ingredients. It’s naturally dairy-free, gluten-free, and vegan. #winningallaround
No-bake desserts like this come together in around 15 minutes of prep time—most of the time in a recipe like this is the time it takes to chill in the freezer. I like to make it the night before (up to three days) before I plan to eat it, but you could also make it early in the morning if you plan to eat it that night. Just give yourself a good eight hours of chill time to make sure it sets.
What I love about this no-bake dessert recipe is that it not only gives you a delicious dessert, but it teaches you an overall method for making awesome no-bake desserts depending on what fruit is in season. Feel free to mix up the filling with any flavors you want.
How to Make No-Bake Desserts
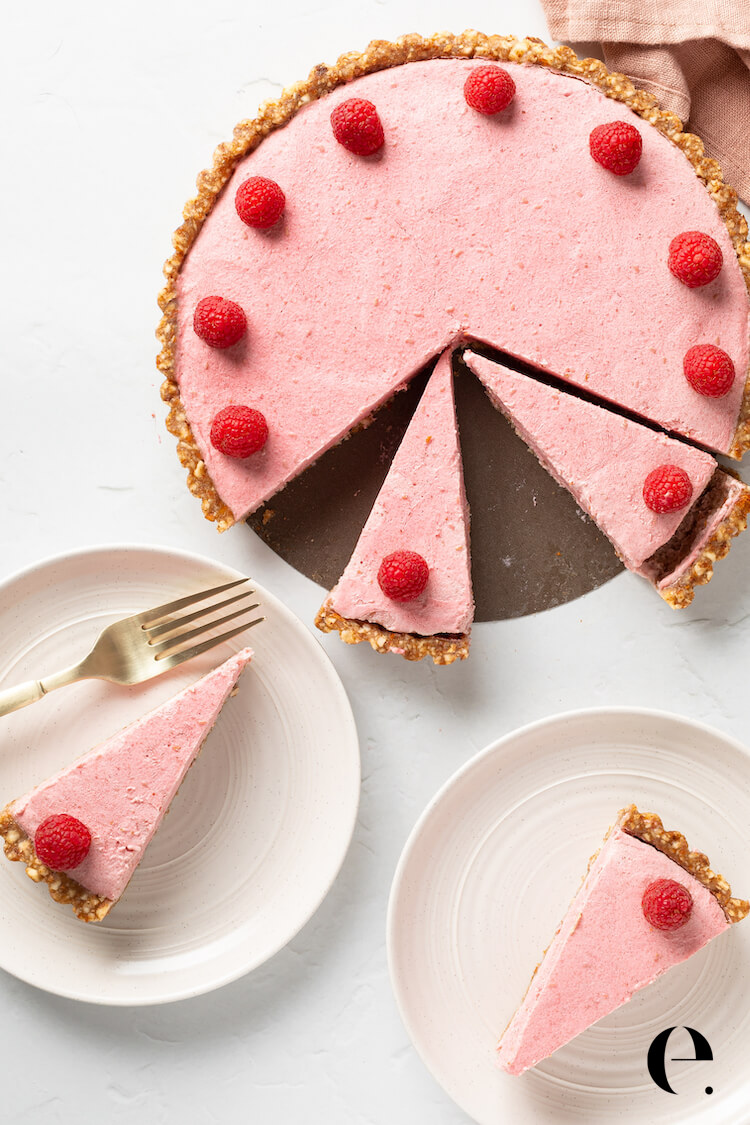
In this particular lemon tart recipe below, I use nuts as the base. However, if you’re looking for a nut-free crust then check out the crust on my No-Bake Vegan Mango Pie Recipe. You can use the crusts and fillings of these recipes interchangeably. You can also check out my No-Bake Vegan Raspberry “Cheesecake” Recipe for another variation.
I like to use a tart pan to make desserts like this because the bottom pops out and leaves you with a really beautiful dessert. But, a pie pan or any kind of baking dish work (even though we don’t bake it) so use what you have on hand.
No-Bake Desserts Crust Tips
I like to use whatever nuts I have on hand to make the crust; sometimes it’s all walnuts, sometimes all almonds, etc. Generally, half walnuts and half almonds make a great crust. If I have them, I like to throw in some Brazil nuts for the extra selenium
The coconut oil is key to the crust as it solidifies when frozen. Other oils won’t work.
Alright, now it’s time to whip up your no-bake dessert. Snap a photo of it and send it to me on Instagram (@elizabeth_rider) so I can admire and share your work!
This lemon tart is the perfect no-bake dessert. Prep time is just around 15 minutes total but you’ll need a good 8 hours (or overnight) to let it set in the freezer. I make it the night before I want to serve it, but it will keep covered in your freezer for 3 days (up to a week, but it’s best within 3 days). Wait to garnish until you serve it. If you love it, please leave a star rating in the comments to help other readers in our community.
Ingredients
Units
For the crust:
2cupstotal raw nuts (I like: 1 cup almonds, 1/2 cup walnuts, 1/2 cup brazil nuts)
1/2 teaspoon sea salt
1/4cupcoconut oil
6 Medjool dates, soaked in hot water for 15 minutes, then pitted & stemmed
For the filling:
2 (14-ounce) cans full-fat coconut milk – cream only (water poured off), OR 1 (14-ounce) can coconut cream
1 teaspoon vanilla extract
juice of 2 lemons (about 4–5 tablespoons)
1 tablespoon lemon zest (zest lemons before you juice them)
1/2cupraw honey (more or less to taste)
Optional: 1/4 – 1/2 teaspoon freshly grated ginger (I love it, but leave out if you don’t)
1/8 teaspoon sea salt
For the garnish (optional):
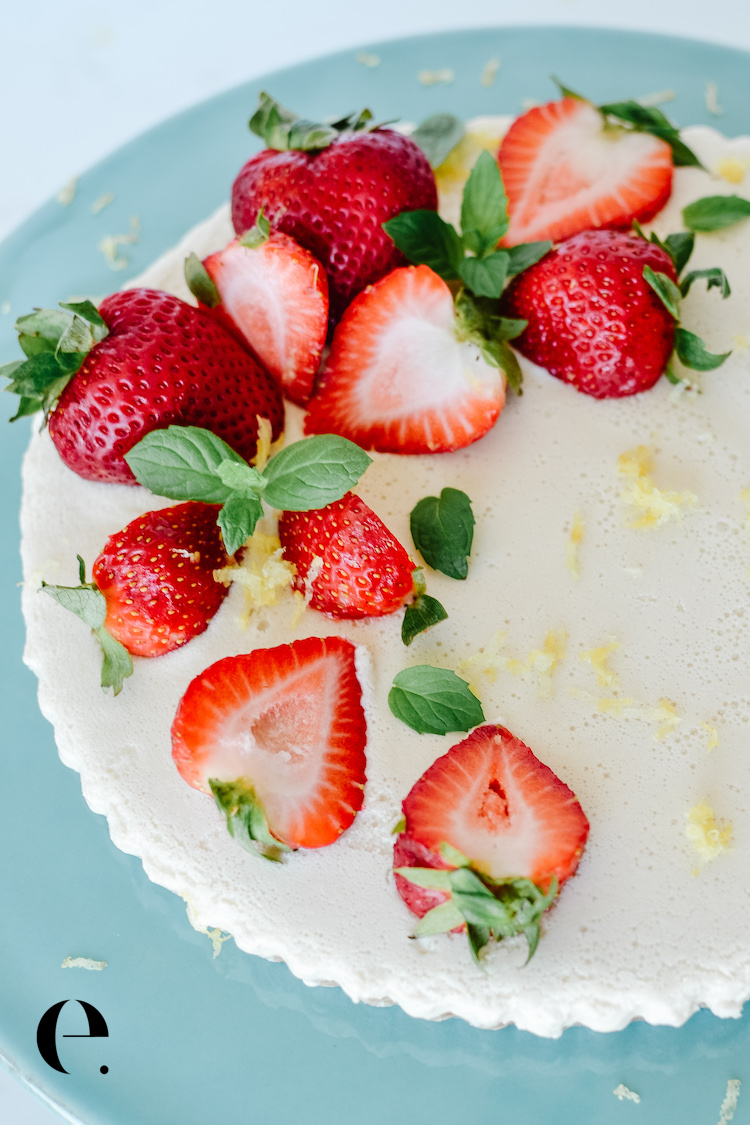
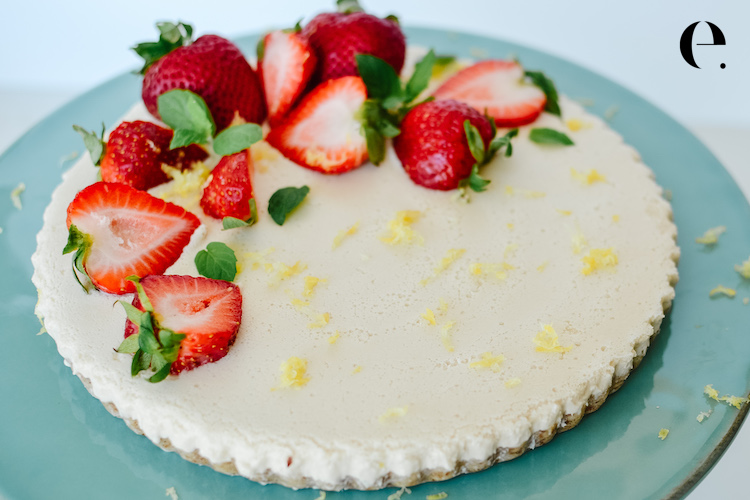
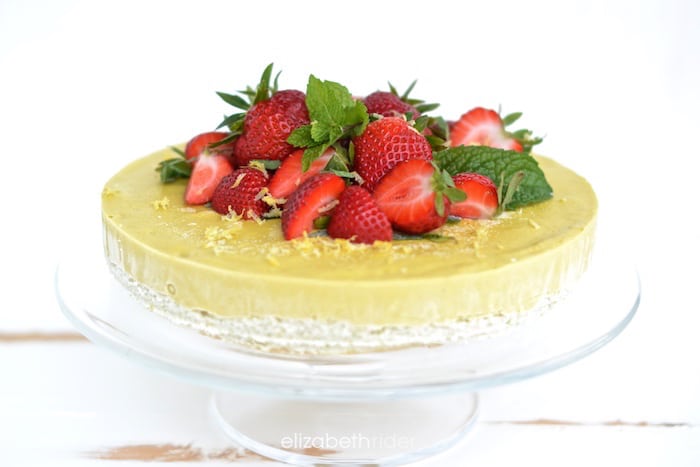
1/2cup fresh strawberries, handful of fresh mint, and a sprinkle of lemon zest
Instructions
Make the crust first so it can chill in the refrigerator for one hour before you pour the filling into it.
To make the crust, pulse all of the crust ingredients in a food processor for about 60 seconds until a uniform crust mixture forms. It should be well blended with the nuts finely chopped but not turned into nut butter. Lightly grease the bottom of the pan with coconut oil on a paper towel. Press the crust mixture into the bottom of the pan using your fingers. Chill in the freezer one hour to firm up before pouring in the filling.
While the crust chills, make the filling. Combine all of the filling ingredients in a blender or food processor and blend until smooth. Taste the filling and adjust ingredients and sweetness as needed.
Pour the filling into the chilled crust and carefully transfer to a flat surface in the freezer. Cover with plastic wrap, being careful that the plastic doesn’t touch the tart (you can freeze it for a few hours before covering if that’s easier.) Freeze at least 8 hours (will keep in the freezer up to one week covered, but it’s best within 3 days).
Before serving, transfer the frozen tart to the refrigerator for two hours, or 30 minutes at room temperature so it can slightly soften. Garnish with strawberries, fresh mint and lemon zest (or garnish of your choice) before serving. The garnish does not freeze well, so garnish the day you plan to serve it. Tip: run a knife under hot water and dry it before cutting for a smooth cut.
Notes
Crust Tips:
I like to use whatever nuts I have on hand to make the crust; sometimes it’s all walnuts, sometimes all almonds, etc. Generally, half walnuts and half almonds make a great crust. If I have them, I like to throw in some Brazil nuts for the extra selenium
The coconut oil is key to the crust as it solidifies when frozen. Other oils won’t work.
This is one of my go-to healthy desserts! I love it. One time I didn’t process enough to get it smooth, and that was a mistake. Produced a lot of ice in final product. So definitely follow that instruction to the fullest! But all-in-all, this is the best! Made it this morning as my birthday cake🍰. So yummy:)
Elizabeth Rider has spent 15+ years writing the healthy recipes at ElizabethRider.com, all built on one idea: you should only eat food you love. She's a certified holistic health coach (Institute for Integrative Nutrition) with a Plant-Based Nutrition certification from Cornell, the author of The Health Habit, and the founder of the Butler app. Her Friday 5 newsletter reaches 60,000+ readers every week, and millions of people watch her cooking videos on YouTube. Get the Friday 5 👇
Welcome to your home for honest recipes that actually work, plus the occasional wellness find and good idea. Sign up for emails to get free recipes and exclusive content straight to your inbox.
For a limited time, new subscribers get 9 Healthy Recipe eBooks—For FREE!
Get access to the online lessons helping thousands people get healthier and happier every week. Clean Up Your Diet is a guided, curated collection of practical knowledge designed to simplify healthy living and empower you with confidence. All at your own pace. Enter your email now to start your free trial (ends January 31st!).
Get access to the online lessons helping thousands people get healthier and happier every week. Clean Up Your Diet is a guided, curated collection of practical knowledge designed to simplify healthy living and empower you with confidence. All at your own pace.
Enter your email now to start your free trial (ends January 31st!) Cancel anytime or ask for a refund if it's not for you 💕
Clean Up Your Diet 7-Day Free Trial
We never share or sell your information. Cancel anytime or ask for a refund if it's not for you 💕
TM
Join 60,000+ Readers Getting My Best Recipes & Cooking Tips
THE NEWSLETTER YOU’LL ACTUALLY LOOK FORWARD TO
Tried, tested, and absolutely delicious—get the top 10 reader-favorite recipes plus 7 printable guides for easy, healthy, and seriously good meals at home, all sent straight to your inbox for free!


")


")
This is one of my go-to healthy desserts! I love it. One time I didn’t process enough to get it smooth, and that was a mistake. Produced a lot of ice in final product. So definitely follow that instruction to the fullest! But all-in-all, this is the best! Made it this morning as my birthday cake🍰. So yummy:)
Love this, Arynetta! This is one of my favorites, too. Glad you love it, and Happy Birthday!! ~E